Taking a break from baking and knitting (I haven't done much but for the past month), I found inspiration for a functional and cute DIY at my local thrift store and whipped up this case for my Kindle e-reader in under an hour.
 |
| My 1 hour DIY e-reader cover |
Last
year I inherited some beautiful vintage hardcover books from my
grandfather - many with lovely scrolled messages in the front cover
dating back to the 1940s - and I've been smitten ever since. Since the
books hold special meaning, as a reminder of my wonderful and well-read
grandfather, I display them proudly in my bookshelves and adore the
character they add amongst my new editions and hit up my local thrift
store when I need something I can cut-up, stamp, paint, or glitter...
After walking around with this little case in my purse it's held up well and has done a great job protecting my e-reader. For a pricier or more delicate item - tablet or ipad - I would be inclined to add some fabric wrapped padding to the inside cover to add a little more cushioning and protect the screen.
Materials:
Scissors, ruler, pencil
Elastic tape (mine was 10mm in thickness)
Cardboard, both thin and corrugated (I used a piece of notepad backing and the lid from a shoe box)
Glue, white and hot glue/glue gun (I used Aleenes Tacky Glue and a toothpick to apply it)
1 hardcover book
*A note about buying the perfect book - Bring your reader/tablet/ipad with you to measure in store and choose a book that is only slightly bigger than your electronics. You'll also want to pay attention to the width, I realized the book actually becomes wider once the inner pages are removed so try and select a thin book if you can find one. In the end my book was about an inch thick in the store and I had room to include my charger cord inside the front cover.
Steps:
Remove the book pages from the hardcover. I initially tried using a knife to gently slice along the inside of the binding but it didn't work very well and I gave up and used my scissors which worked much better.
 |
| Remove the book from the spine |
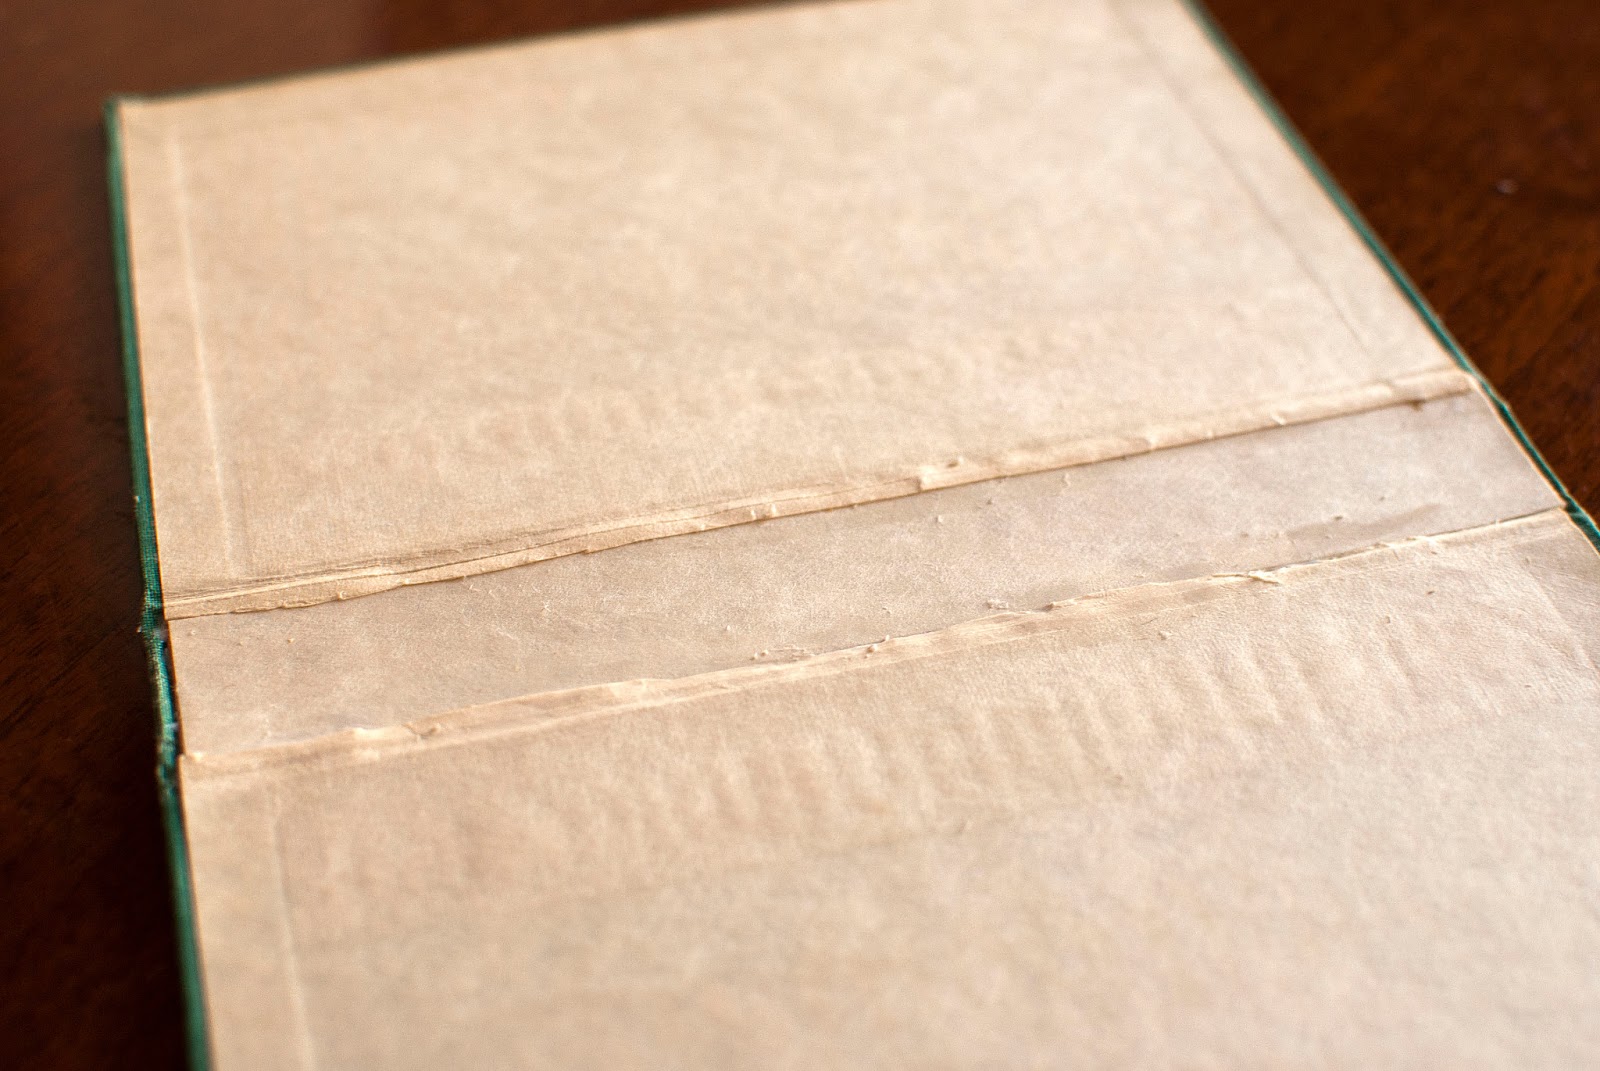
Measure a piece of thin cardboard (notebook backing works well) to fit inside the now bare book spine. This is important because the spine portion of the cover isn't reinforced the way the front and back panels are and therefore is a bit wobbly. Before gluing the cardboard in place, cover it with a page from the book to give a clean, professional look. Glue the cardboard down with basic white glue and let dry.
 |
| Measure a piece of cardboard to fit the spine |
 |
| Double check the size |
 |
| Cover cardboard with a page from the book |
 |
| Paste the cardboard into the spine of the book |
Cut a piece of corrugated cardboard to fit inside the back cover - this is where I used the shoebox lid - and cover it with another page of the book. The front of my book included a wonderfully illustrated title page so I used it here to add a pretty little detail.
 |
| Covered cardboard with a page from the book |
Once dry, cut four pieces of elastic. To measure, wrap the elastic around the corner of the e-reader - mine were 3 inches each. Remember you want the elastic to be tight enough to hold your precious electronics securely and it will stretch. Using your hot glue gun, glue the elastic ends to the back to the corrugated cardboard (see below) so that it stretches over the front corners.
 |
| Glue down the elastic on each corner |
Test the elastic placement by sliding the e-reader into the cardboard piece, ensure the elastics are secure.
Attach the corrugated cardboard/elastic piece to the back cover of the book using hot glue and press firmly until dry.
 |
| Test the e-reader's fit in the elastics |
 |
| Glue the cardboard backing down and you're done! |
If you want to add a piece of elastic to hold your cables/cords, simply cut a small piece of elastic (mine was 2 1/2 inches) and hotglue the ends together to make a loop. Glue the loop to the front cover with the glue gun. Then coil the cords and slide them through the loop.
 |
| Make an elastic loop... |
 |
| ... and slide in your accessories |
I also added a piece of elastic to keep the book closed while hanging out in my purse. To do so yourself, cut a piece of elastic to fit over the front cover (with the e-reader in place) and glue it vertically onto the back of the corrugated cardboard (where the elastic corners are secured) a half inch in from the the outside edge. Once dry you can slip the elastic over the top cover, and while reading flip the elastic over the back cover and out of sight.
 |
| Elastic keeps the front cover closed |
Voila, there you have it! And the best part, besides how adorable it is... this project only cost me five dollars for an old book and some elastic!
I absolutely love my e-reader, the convenience and portability is hard to beat. However I know many die hard readers who swear by the real deal and refuse to give up their paperbacks. Perhaps now, we can have the best of both worlds; after all, isn't our hate better reserved for those crazy social outcasts who don't read at all?
This post has been shared over at:
Yesterday On Tuesday
The Shabby Creek Cottage
Somewhat Simple
Beyond the Picket Fence
Rae Gun Ramblings
This post has been shared over at:
Yesterday On Tuesday
The Shabby Creek Cottage
Somewhat Simple
Beyond the Picket Fence
Rae Gun Ramblings
It turned out great--I love the addition of the cord storage--smart. Thanks for sharing.
ReplyDeleteThanks Becky, hopefully the cord storage will reduce the amount of time I spend searching for the darn thing :)
DeleteThank you for sharing your project with us at A Crafty Soiree, I've featured yours in this weeks! I hope you'll stop by to see it and share more of your crafty goodness with us.
ReplyDeleteI love love love this - I'm off to search out the perfect old book now! Thanks for sharing!
ReplyDeleteTHis is so clever and cute and yes that cord holder is genius! I hope you'll be adding it to my link party :)
ReplyDeleteMarissa @ Rae Gun Ramblings
Oh, I L O V E this! I so will be trying this for my Kobo as soon as I can raid an old book shop.
ReplyDelete